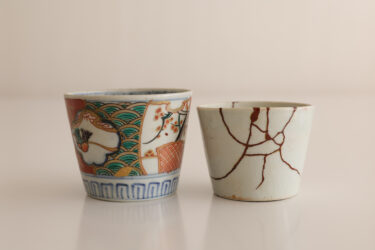
Introduction to the process
Below are the experience of “Ms. M, an editorial staff member” who participated in a kintsugi class (excerpted from Mrs. magazine)
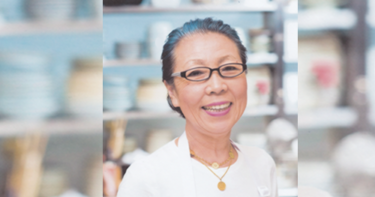
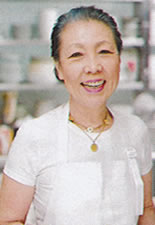
Kintsugi Workshop Instructor
Kazue Ito

After working in the hotel industry for about 20 years, she opened the brown rice restaurant “Kuh” in Aoyama, Tokyo in 2000 (until 2007). Currently, she teaches cooking and original modern kintsugi at “Table Studio Takito” and other locations.
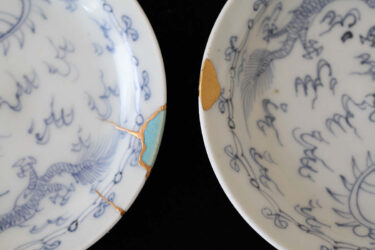
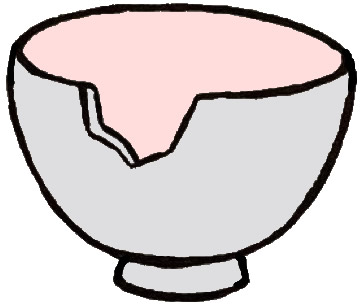
Step 1. Determine the type of crack.
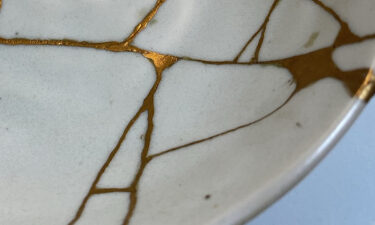
There are five types of cracks. The first thing to do is to determine the type of crack. This discernment is important because it determines the next step. If the pieces are scattered(Ware), the first step is to put them back together like a puzzle. If they are cracked(Nyu or Hibiware), the next step is to fill in the gaps.
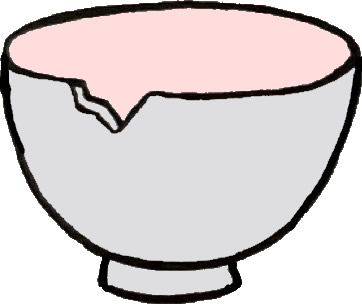
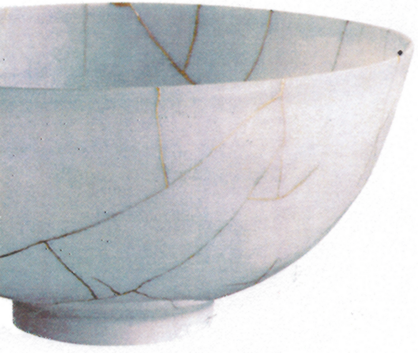
The bowl I had was into pieces(Ware).
Hotsure Small chips | Kake Large missing piece, no debris. | Nyu Hairline cracks and no surface irregulaarities |
 |  | 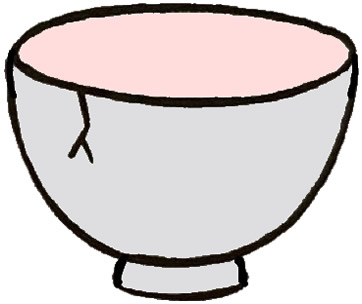 |
| Hibiware Large chacks, chips and no debris | Chacked into pieces, all the pieces exist | |
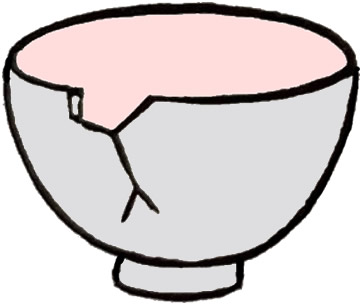 | 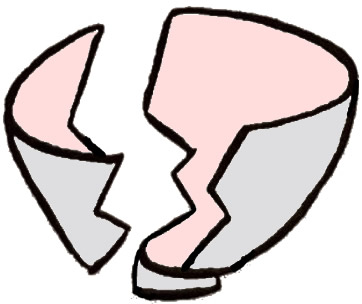 |
Ware -> Go to Step 2 /Kake or Hibiware -> Go to Step 3
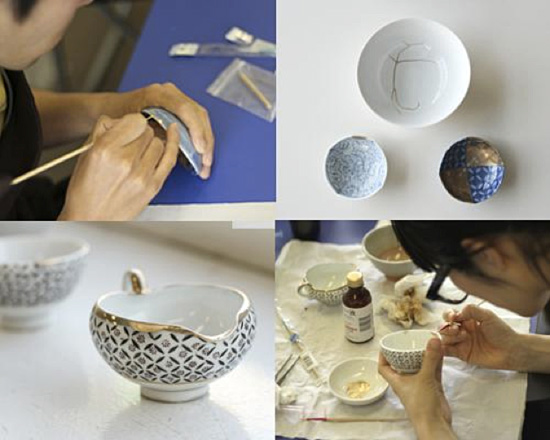
The tools to Kintsugi repair
1. washing liquid 2. glue 3. adhesive putty 4. cutter 5. dropper 6. gold dust 7. new lacquer(bottom) 8. brush 9. tweezers 10. small plate

The tools above are commercially available, but the selections are Ms. Ito’s originals. Tools 1-10 with 4 brushes, water-resistant sandpaper, and puff, as a Kintsugi repair kit is available at the class.

Step 2. Glue the pieces together
Use a special glue to connect the pieces together. At this time, it is important not to apply too much glue. Spread a thin layer on one side only. After connecting the pieces, hold them firmly with both hands and be patient until they are attached.
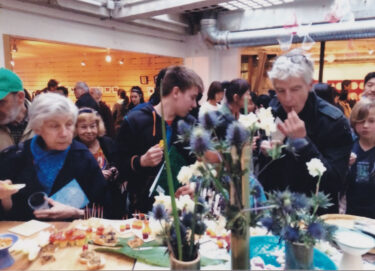
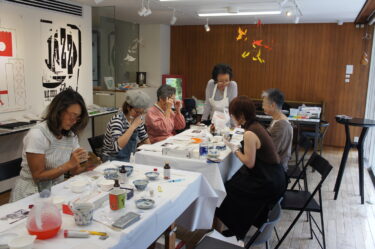
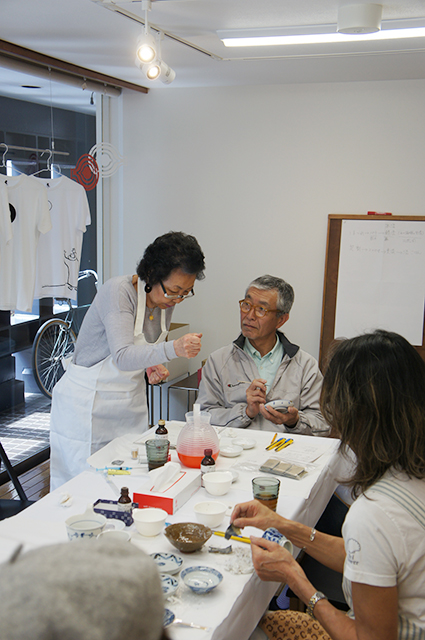
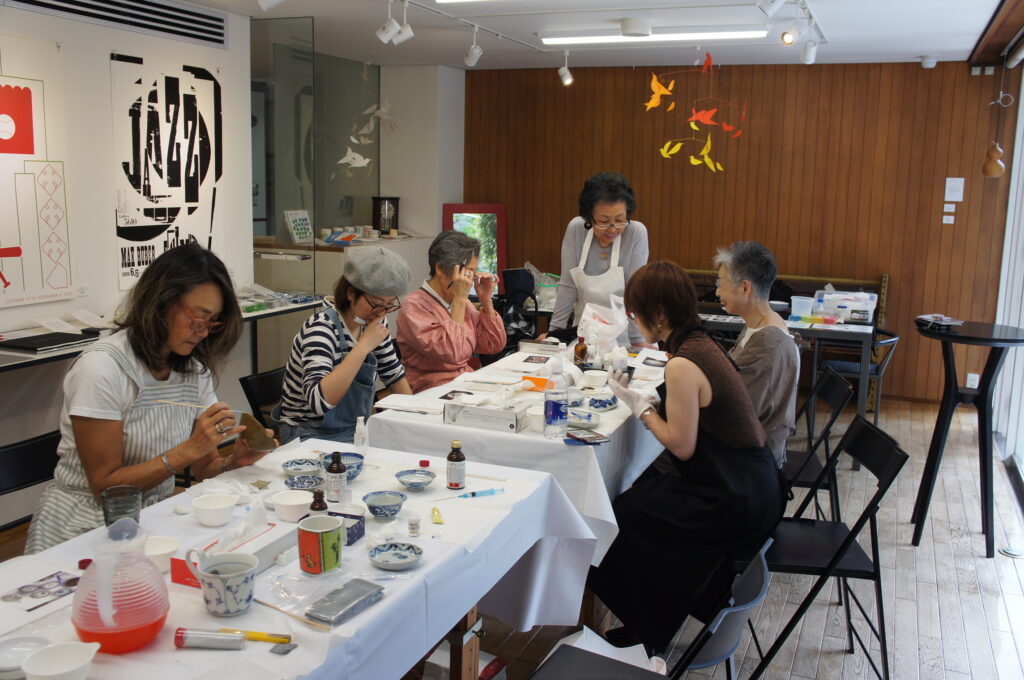
Everyone listens intently to the teacher’s lecture.

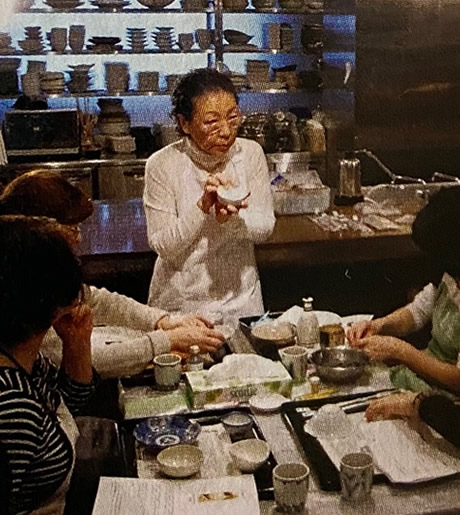
Everyone listens intently to the teacher’s lecture.
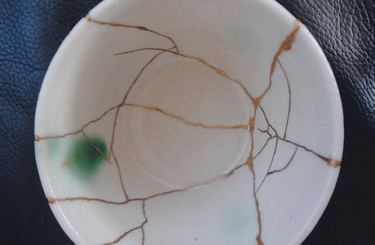
Step 3. Fill in cracks and chips
Cut the adhesive putty into 1cm pieces and knead it well with your fingers. Fill in the gaps, cracks, and chips with putty. This putty heats up and dries quickly, so we need to fill it in quickly and as thinly as possible before it dries. It’s hard to get an “OK” from the teacher.
Good! The putty should be thin and the surface should be smooth. It is beautiful that the vessel is almost uneven.
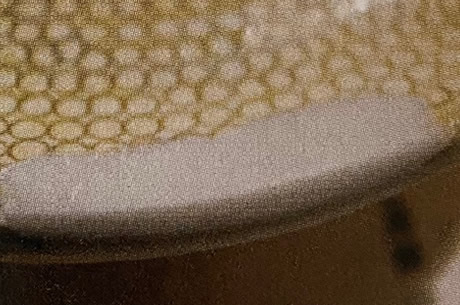
Step 4. Polish with sandpaper
After finally getting the OK from the teacher, we left the putty to dry for a while. After about five minutes, when the putty is dry, polish the filled area with water-resistant sandpaper. Trace it with your finger until the surface of the vessel is no longer uneven. Be careful not to scrape off the original paintwork!
When applying the putty, be gentle and careful, as if you were applying makeup to the vessel.

When applying the putty, be gentle and careful, as if you were applying makeup to the vessel.
Step 5. Prepare the adhesive
Put out gold dust and new lacquer 1:1 on a small plate and divide it with the same amount of thinned liquid in a spot. Tilt the brush to the side and gently mix it so that no air bubbles appear. According to the instructor, “The most beautiful gold color” is the supernatant formed at that time. The gold liquid should neither be too thin nor too thick. You have to concentrate on your nerves because the slightest touch can change the color and quality in a flash. The shortcut to success is to “watch the gold color from a good person and learn the secret of how to make it”. In the classroom, there was also the fun of teaching and being taught by each other. Gently mixing gold powder, new lacquer, and thinned liquid, you can make beautiful gold color as shown in the picture. The more you redo, the better you get.
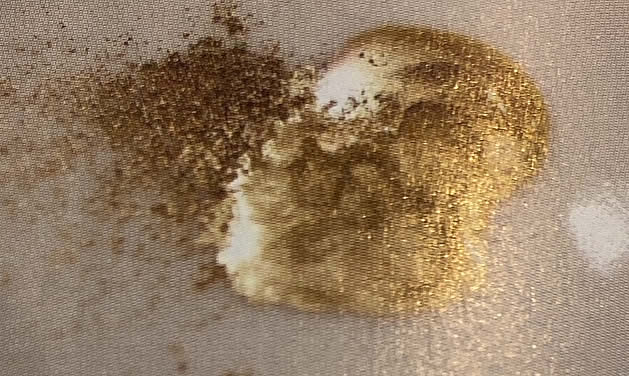
Gently mixing gold powder, new lacquer, and thinned liquid, you can make beautiful gold color as shown in the picture.

The more you redo, the better you get.
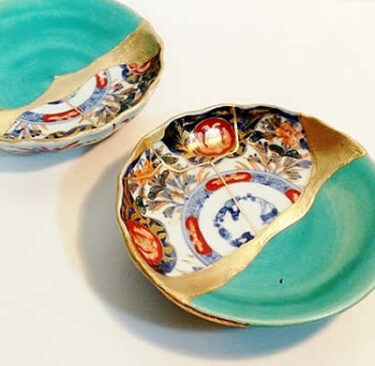
Step 6. Create gold lines
Once you have created your gold color, it is time to apply the brush to the repaired area. Dip the tip of the brush in a solution of the gold powder made in step 5 mixed with new lacquer, and draw lines and surfaces. Of course, this does not work all at once. It may sag, shake, or stick out. But if you wipe it off with a cloth soaked in washing liquid, the color will disappear, so you can redo it as many times as you like. Draw and erase, erase and draw again and again until you are satisfied.
・In the case of Nyu
Set up the brush tip. Hold the liquid at the starting point and draw a line by spreading it out in one breath. In the end, release the brush while leaving a lingering impression.

・For a surface
Lay the brush down. To avoid color seams and unevenness on the surface, move the brush only in a certain direction, keeping in mind that the surface should be as large as possible.

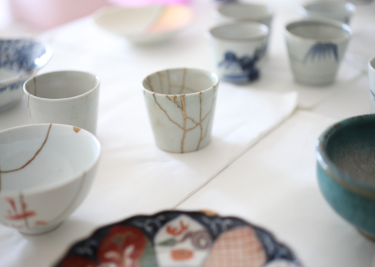
Step 7.Complete
Twenty to thirty minutes after finally finishing painting the gold. Once you are sure that the new lacquer has dried to some extent, you are done!
Pinch the perimeter of the kintsugi with clothespins to keep the pigment from sticking to the plastic bag before taking it home. Don’t forget to rinse the brush in the washing liquid and clean it up. After taking the kintsugi bowl home, left it to dry for a night, and the next morning the bowl was restored to its former glory at the dinner table.
This was the experience of “Ms. M, the editor who participated.
I gold joined it in the classroom.

I finally finished it with the help of my teacher and everyone in the class. I am happy that I can use it again soon.
SONY DSC
Introduction of Instructor
Kuh Kintsugi Workshop Instructor
Kazue Itoh
After the establishment of the Government Tourist Office in Macau, she was in charge of joint promotions with the Hong Kong Tourism Board and Cathay Pacific Airways, and participated in domestic and international promotions.
After working in the hotel industry for about 20 years, she opened the brown rice restaurant “Kuh” in Aoyama, Tokyo in 2000 (until 2007). Currently, she teaches cooking and original modern style kintsugi at “Table Studio Takito” and other places.
Other Activities
– Holds classes related to food at various locations in Tokyo. She teaches classes on seasonal preserved foods, pickles, miso soup, and other handmade foods.
– Kuh Kintsugi Workshop “Asobi” and “Reborn the life of vessels”
– From Food to Vessels. “Kintsugi” is a technique to repair and continue using everyday vessels.
2011 Exhibition “Asobi” from Kuh Kintsugi Workshop
Tokyo Minami-Aoyama Kuh Kintsugi Atelier
Agency Century Mutual Hong Kong CO.LTD.